1-800-827-3232

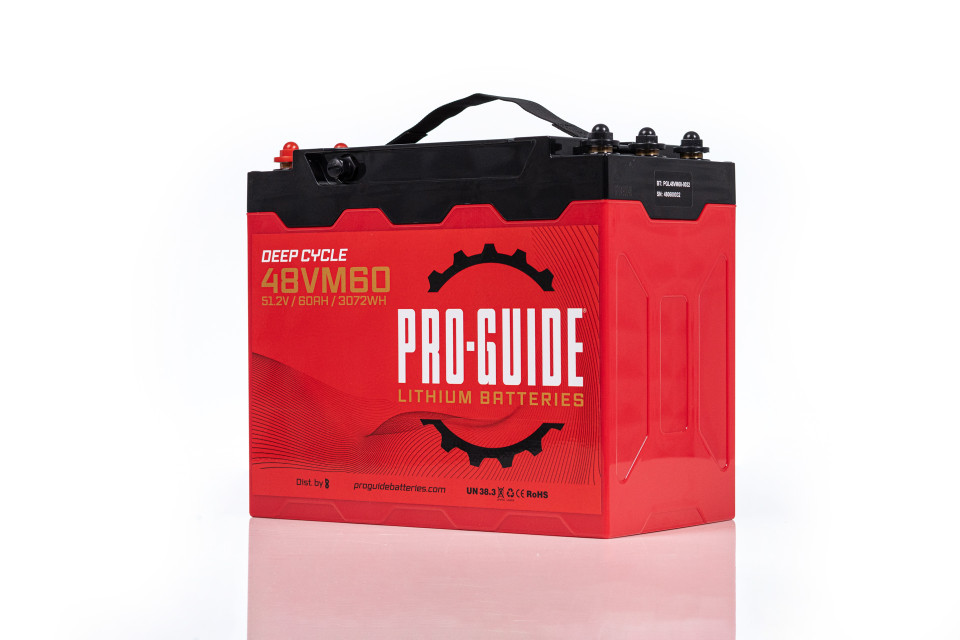
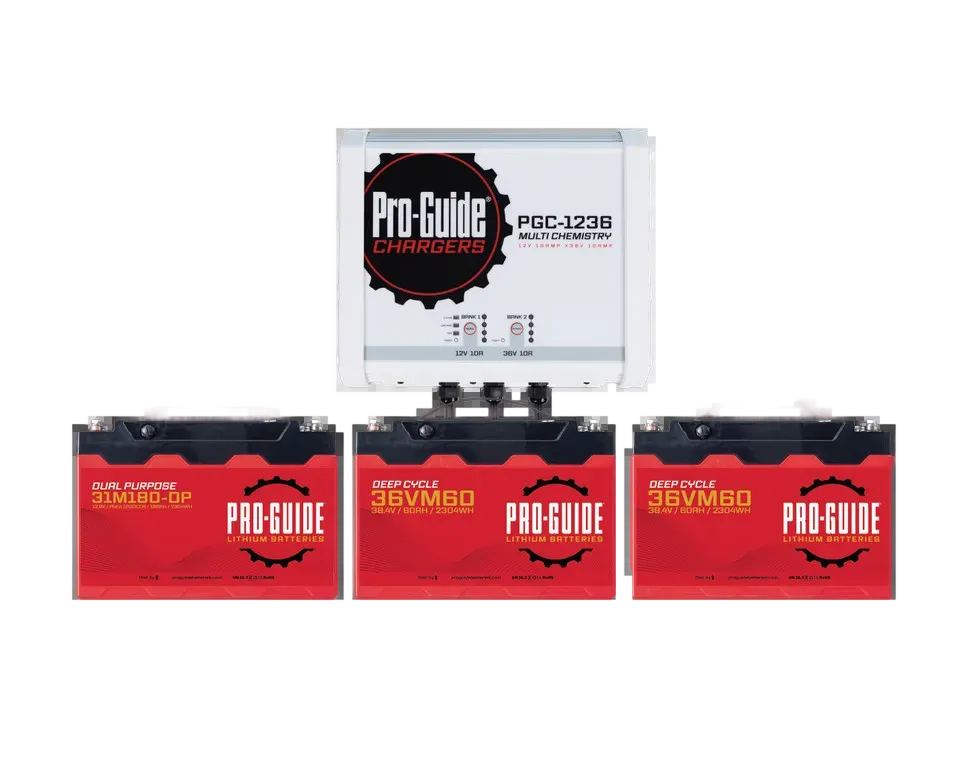
G48V105 Bundle Club Car Precedent Installation
Posted by ZW on 28th Feb 2025
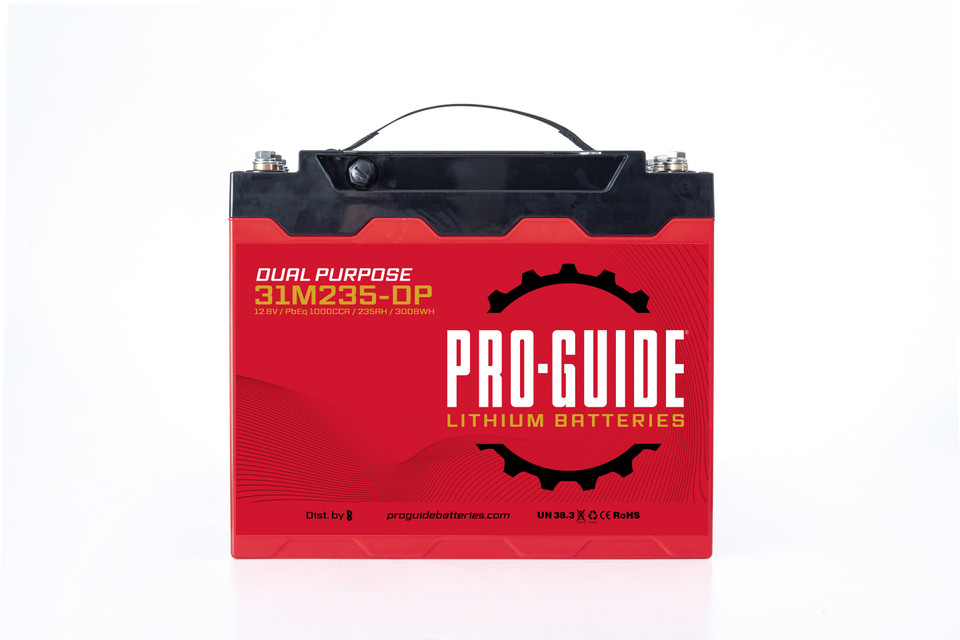
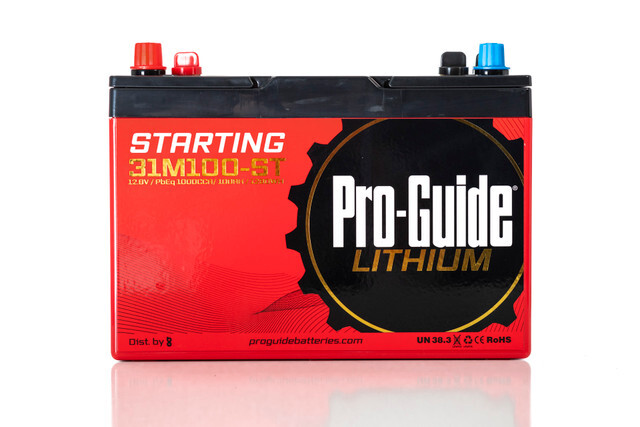
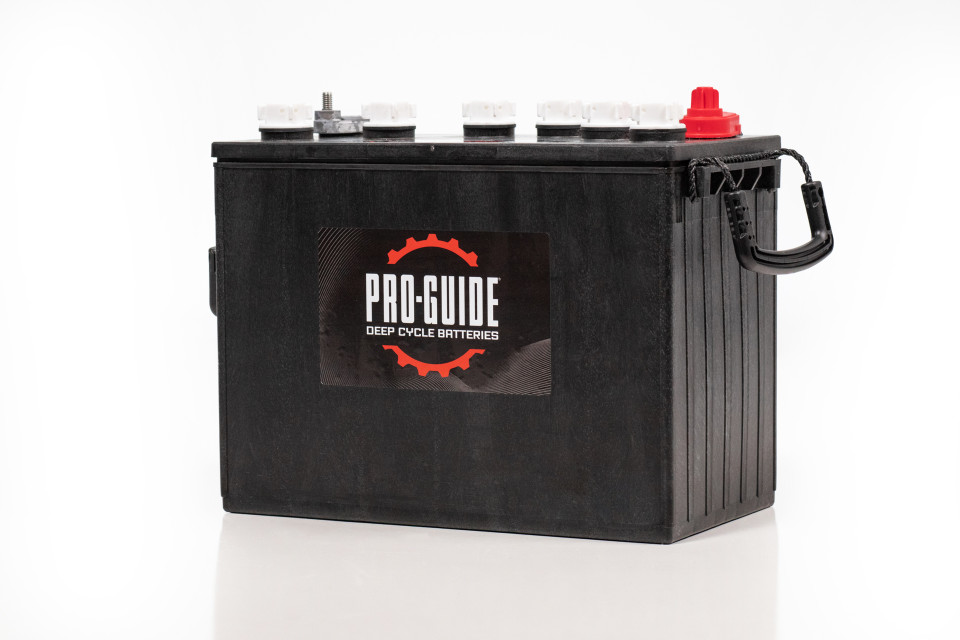
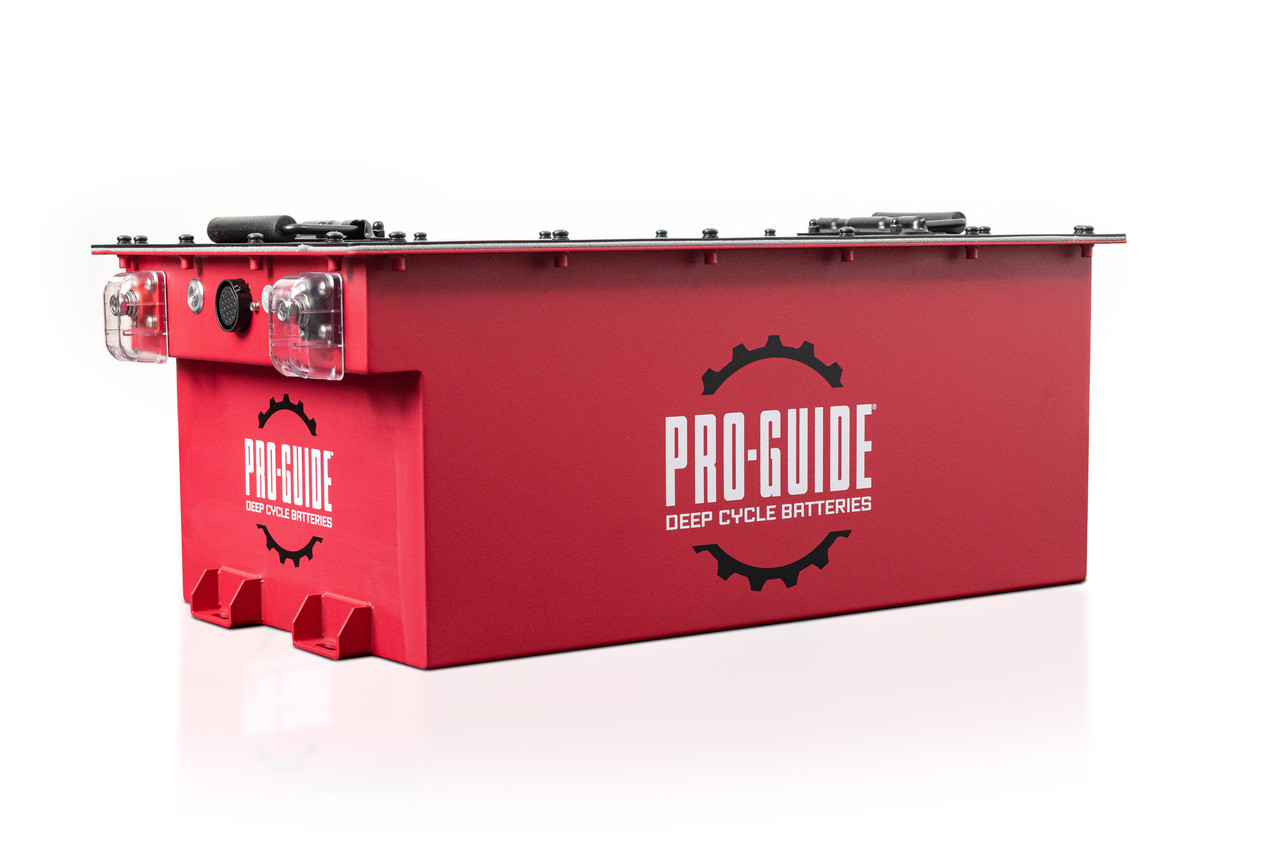
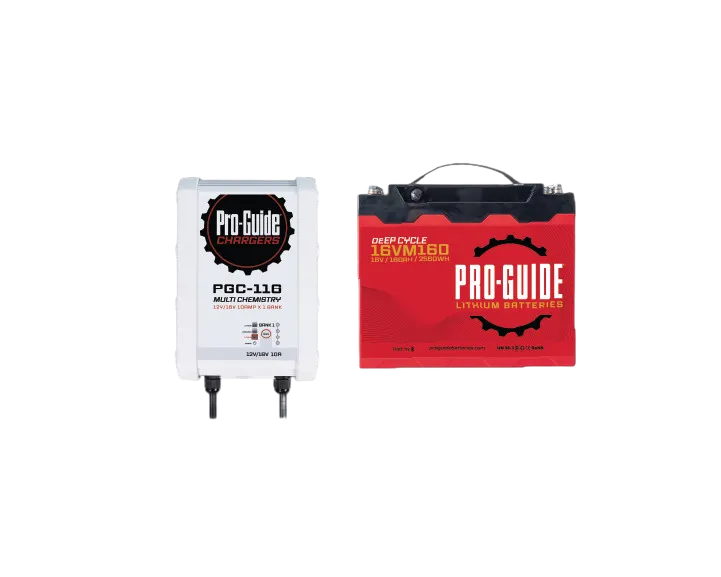
Introducing Pro-Guide’s New Lithium Golf Batteries
Are you ready to elevate your golf game and maximize the performance of your golf cart? Pro-Guide is thrilled to announce the launch of our new line of lithium golf batteries—designed with advanced technology to bring unmatched power, longevity, and convenience to golf enthusiasts everywhere.
Why Switch to Lithium?
Traditional lead-acid batteries have served golf carts for decades, but lithium technology is redefining the standard. Here’s why Pro-Guide lithium batteries are a game-changer:
- Lightweight Design: Lithium batteries are significantly lighter than lead-acid batteries, reducing the overall weight of your golf cart and enhancing its performance.
- Longer Lifespan: Our lithium batteries offer a longer cycle life, meaning fewer replacements and greater cost savings over time.
- Faster Charging: Spend less time charging and more time on the course with rapid charging capabilities.
- Maintenance-Free: Forget the hassle of checking water levels and dealing with corrosion—our batteries are completely maintenance-free.
Pro-Guide’s Lithium Technology
At Pro-Guide, we’ve leveraged over 40 years of experience in the battery industry to develop lithium solutions that meet the demands of modern golf cart users. Our batteries are designed with safety features, such as built-in protection against overcharging and overheating, ensuring reliability and peace of mind.
Real-World Performance
To showcase the ease of installation and performance of our lithium golf batteries, we’ve created a step-by-step video tutorial featuring an installation on a Club Car Precedent. Below are some key steps included in the installation process:
Key Highlights from the Installation Process:
- Preparation:
- Turn the key to the off position and set the parking brake.
- Remove the seat and place the tow/run switch to the "tow" position.
- Photograph the battery compartment and label the main positive and negative cables for reference.
- Battery Removal:
- Remove the main negative terminal first, followed by the main positive terminal.
- Disconnect any additional cables, remove the battery hold-down brackets, and carefully remove the old batteries.
- Clean the battery compartment to prepare for the new installation.
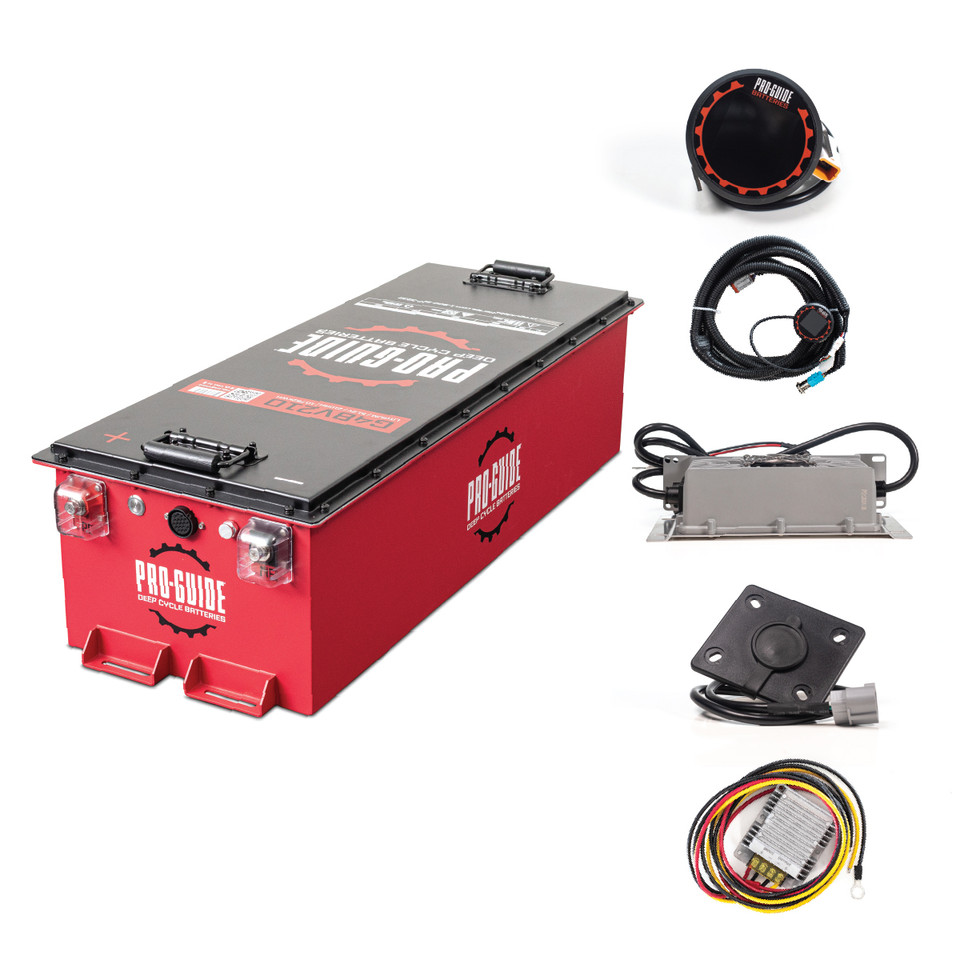
- Installing the New Lithium Battery:
- Securely mount the Pro-Guide lithium battery using the provided hardware.
- Connect the main negative and positive cables, ensuring wires are stacked in the correct order (highest load closest to the terminal).
- Install the new 110-volt receptacle and connect the charger to the charging port, ensuring proper ventilation for the charger.
- Optional Accessories:
- Install the DC-to-DC converter for 12-volt accessories, if applicable.
- Use a hole saw to install the state-of-charge gauge and power button on the dashboard. Securely route the wiring harness to these components.
- Final Setup:
- Reinstall the seat, turn the tow/run switch back to "run," and test the cart in forward and reverse.
- Charge the battery to 100% before use to ensure optimal performance.
Experience the Difference
Switching to Pro-Guide lithium golf batteries means experiencing greater efficiency, longer-lasting performance, and a hassle-free lifestyle. Whether you’re a weekend golfer or a professional, our batteries are designed to keep you moving.
Visit our website or contact us to learn more about Pro-Guide’s lithium golf batteries and find the right fit for your golf cart. Ready to make the switch? Start your lithium journey today!